
In this tutorial, you will learn how to use GPTScript to build your very own web developer assistant. Make your assistant start with an empty HTML document, and instruct it to build a website piece by piece. You will be able to see a responseive preview of the website, as well as getting the full source code.
I’ve posted a video demonstrating this on my YouTube channel.
<iframe width=”560″ height=”315″ src=”https://www.youtube.com/embed/fXa8I_yjXAw?si=I0GmVp1hoiuQYsG7″ title=”YouTube video player” frameborder=”0″ allow=”accelerometer; autoplay; clipboard-write; encrypted-media; gyroscope; picture-in-picture; web-share” referrerpolicy=”strict-origin-when-cross-origin” allowfullscreen></iframe>
First, we will set up the basics of the front end we’re going to use in this tutorial, then we we will build the GPTScript and keep making it even more advanced by adding image generation features to it.
The front end will be built with Flask and Tailwind CSS. The Flask part will only be around 30 lines, and I will explain everything in detail. So if you’re new to Flask, you should still be able to follow along.
Setting up the front end
Begin by creating a folder somewhere on your computer and open up this folder in a terminal. Create a new file inside it called ‘requirements.txt’ and add the following contents to it:
Flask==2.0.1
Werkzeug==2.2.2
- Flask is the web framework we’re using.
- Werkzeug is a python library for handling URLs in Flask.
If you have "pip" installed on your computer, you can install these packages by running the following command:
$ pip install -r requirements.txt
This will now install the same versions of the packages that I use for this tutorial. If you don’t have pip install, you can either install it, or use a virtual environment. You can create a virtual environment and activate it by running this command:
$ python3 -m venv env
$ source env/bin/activate
When you’ve done that, you can use pip to install the packages from the requirements.txt file.
Next, we can open up this project folder in an editor. I usually like to use Visual Studio Code.
Inside the project folder, create a file called ‘index.html’ and a file called ‘app.py’.
The index.html file is the file our script will be working with, and app.py is the Flask application we’re going to build.
Add the following code to the app.py file:
import subprocess
import os

from flask import Flask, request, render_template, send_file, redirect

app = Flask(__name__)
base_dir = os.path.dirname(os.path.abspath(__file__))

SCRIPT_PATH = os.path.join(base_dir, 'assistant.gpt')

if __name__ == '__main__':
    app.run(debug=False)
Let’s break down the code here.
- First, we import two python libraries. "os" is used to read files in and "subprocess" is used to execute commands in the terminal.
- Next, we import Flask and a few functions we’re going to need later.
- Then, we set up a Flask application and set the "base_dir" variable which just points to the root of our project.
- Next, we set the SCRIPT_PATH. This uses the base_dir variable and point to the script (not created yet) we are going to call and use.
- At the end, we just add a test to see if this script is run from the terminal, and run the Flask app.
So far, this doesn’t really do anything. Let’s create a route for the front page of our application. Add the following code below the "SCRIPT_PATH" variable.
@app.route('/', methods=['GET'])
def index():
    return render_template('index.html')
Let’s break down the code here.
- We define a route, and set the only allowed method to be GET. So you cannot POST or anything like that to this route.
- We create a function, and use the "render_template" function from Flask to render a template called "index.html". This is NOT the file we created earlier.
The "render_template" function automatically looks for a folder called "templates", and find the "index.html" inside there. Let’s create this now.
Begin by creating a folder called "templates" and a file called "index.html" inside there. Add the following contents to it:
<!doctype html>
<html>
    <head>
        <meta charset="UTF-8">
        <meta name="viewport" content="width=device-width, initial-scale=1.0">
        <script src="https://cdn.tailwindcss.com"></script>
    </head>
    <body class="bg-slate-800">
        <nav class="py-8 px-12 bg-slate-900">
            <a href="/" class="text-2xl text-white">Web Developer Assistant</a>
        </nav>

        <main class="py-8 px-12">
            <form method="post" action="/execute_command" class="mb-4 space-y-4">
                <div>
                    <label class="text-lg text-white">Command</label><br>

                    <textarea name="command" class="w-full h-80 py-4 px-8 bg-slate-700 text-slate-300 rounded-xl"></textarea>
                </div>

                <button class="py-4 px-8 bg-sky-800 text-white rounded-xl">Submit</button>
            </form>

            <hr>

            <div class="mt-4 p-4 grid grid-cols-2 gap-4 bg-slate-700">
                <textarea class="w-full min-h-[800px] p-4 bg-slate-600">HTML CONTENT</textarea>

                <iframe class="w-full min-h-[800px] overflow-auto resize" src="index.html"></iframe>
            </div>
        </main>
    </body>
</html>
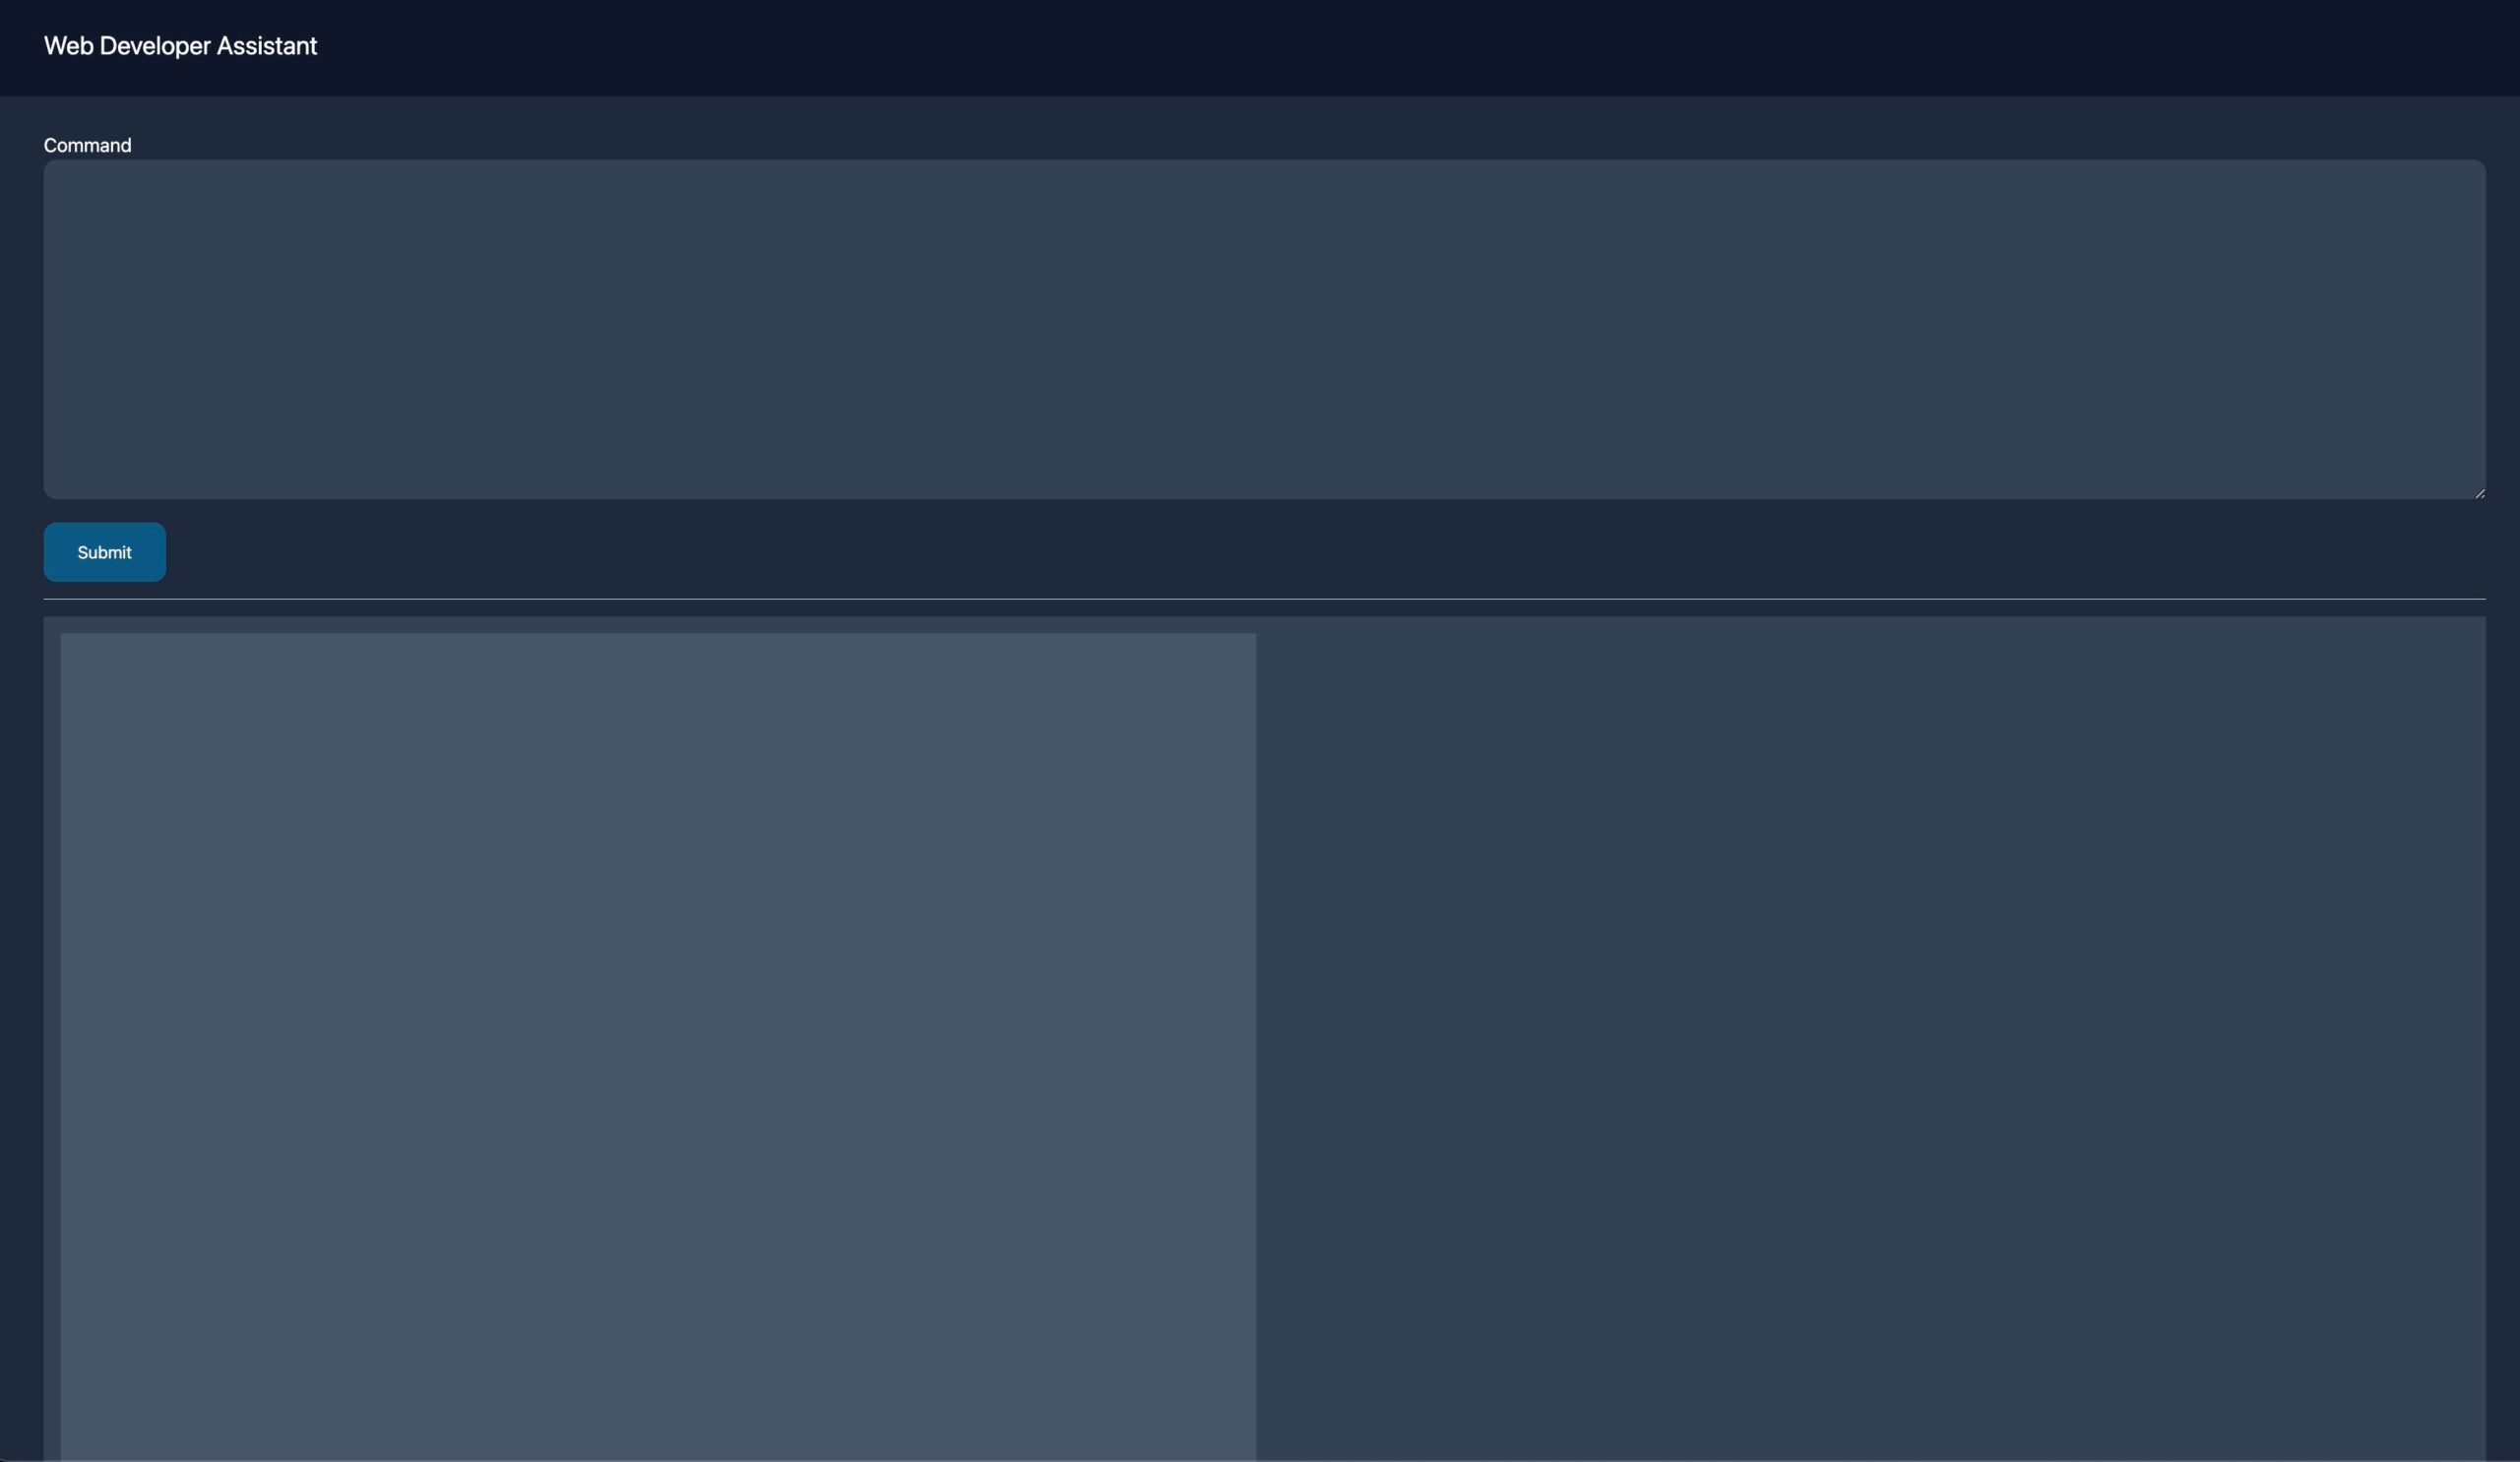
Hopefully, you’ve seen Tailwind CSS in action before. The design isn’t very complicated, and it’s just meant to provide us with a simple playground where we can give the backend a command, and we will see the HTML we have generated in the textarea on the left side, and a preview of the website on the right side.
On the right side, we use a simple "iframe" to show the contents of the HTML file that our script will generate. This is the first html file we created which is located in the root of the project.
Let’s test that everything is working by going to the command line and run the following command:
$ python app.py
The server should now start, and you can open up a browser and go to "http:/127.0.0.1:5000". You will notice that in the iframe, we see an error because it can’t find the index.html file we created. Let’s add one more view into app.py to serve this.
Add this view above or below the index-route:
@app.route('/index.html')
def index_html():
    return send_file('./index.html', mimetype='text/html')
What this does is that it check if the url is "index.html", and if so, we use a function called "send_file" to send the file to the frontend. If you now go to the terminal and stop, and start the server. You should be able to refresh the page in your browser and see that the error is gone and that you see a blank page inside the iframe.
Setting up GPTScript
A short guide:
- First you install the CLI (Command line interface) by running this command:
MacOS / Linux:
brew install gptscript-ai/tap/gptscript

Windows:
winget install gptscript-ai.gptscript
-
Get your OpenAI API key by going here (https://platform.openai.com/api-keys)
-
Add the API key to your environment by running this command:
MacOS / Linux:
export OPENAI_API_KEY="your-api-key”

Windows:
$env:OPENAI_API_KEY = 'your-api-key'
And now you should be ready to jump to the next step. If you need more details for the installation, you can go to the official getting started guide for GPTScript by clicking here (https://docs.gptscript.ai/getting-started).
Prices
Before you start running the commands for running GPTScript, it might be smart to take a look at the price lists here:
https://openai.com/pricing
Using OpenAI’s API is not free, but you do not pay for more than you actually use.
The script we are building in this tutorial will use a language model called GPT-4 Turbo and an Image model called DALL-E 3. Per image we are generating, we are spending $0.12 for the image model and a few cents for the rest. This can vary a little bit based on what you actually are sending in to the GPTscript, how long the texts are, etc.
Take a good look at the price lists to familiarize your self with them.
Creating our assistant script
In the root of our project, create a new file called "assistent.gpt". Add the following contents to it:
tools: sys.read, sys.write
description: A coding assistant for building websites.
args: command: The command a user gives to build and modify a website.

You are a professional web developer and designer. You are going to be an assistent to the user.
When you're given a command, open up `index.html`, analyze it, and modify it.
Let’s go through this line by line.
- We added a list of tools that our script is going to need. "sys.read" is used for reading the contents of "index.html", and "sys.write" is used to modify it.
- We set a description so it’s easy for us and other to understand what this script does.
- We added an argument so that we can accept inputs from the user (provided by the frontend).
- Next, we just tell the script that it should act as a web developer and a design. When it is given a command by the user, it should execute this.
Calling our script
Now that we have a script, and we have some of the frontend, it’s time to create the last route in Flask that will actually execute this script.
Add the following contents to the app.py file:
@app.route('/execute_command', methods=['POST'])
def execute_command():
    command = request.form.get('command')
    answer = subprocess.Popen(f"gptscript {SCRIPT_PATH} --command {command}", shell=True, stdout=subprocess.PIPE).stdout.read()

    return redirect('/?answer=' + answer.decode())
This doesnt’ require many lines of code. As you can see, we are getting the command from a form (Located in index.html).
Next, we create a new variable called "answer", and we call subprocess which again calls the gpt script we created. The script will now generate HTML for use, and give us an answer with information on what was done.
At the end, we just redirect the user back to the frontned and set the answer from gptscript in the url.
Before we test this, I just want to make a change to the frontend route and template. Replace the index route with this:
@app.route('/', methods=['GET'])
def index():
    answer = request.args.get('answer', '')

    with open('./index.html', 'r') as template_file:
        content = template_file.read()

        return render_template('index.html', content=content, answer=answer)
As you can see, we now get the "answer" from the url. Next we open up and read the contents of the html file that was generated.
At the end, we added the content (html) as a variable for the template, and also the answer so it will be easy to see what was executed.
Last thing we need to do now before we test is to modify the template a little bit.
Above the
element, add this code:
{% if answer %}
    <hr>

    <p class="py-4 text-gray-300">{{ answer }}</p>
{% endif %}
Here we check if the answer variable is set, and if so, we render it inside a paragraph.
We also need to replace "HTML CONTENT" further down in the file this this:
{{content}}
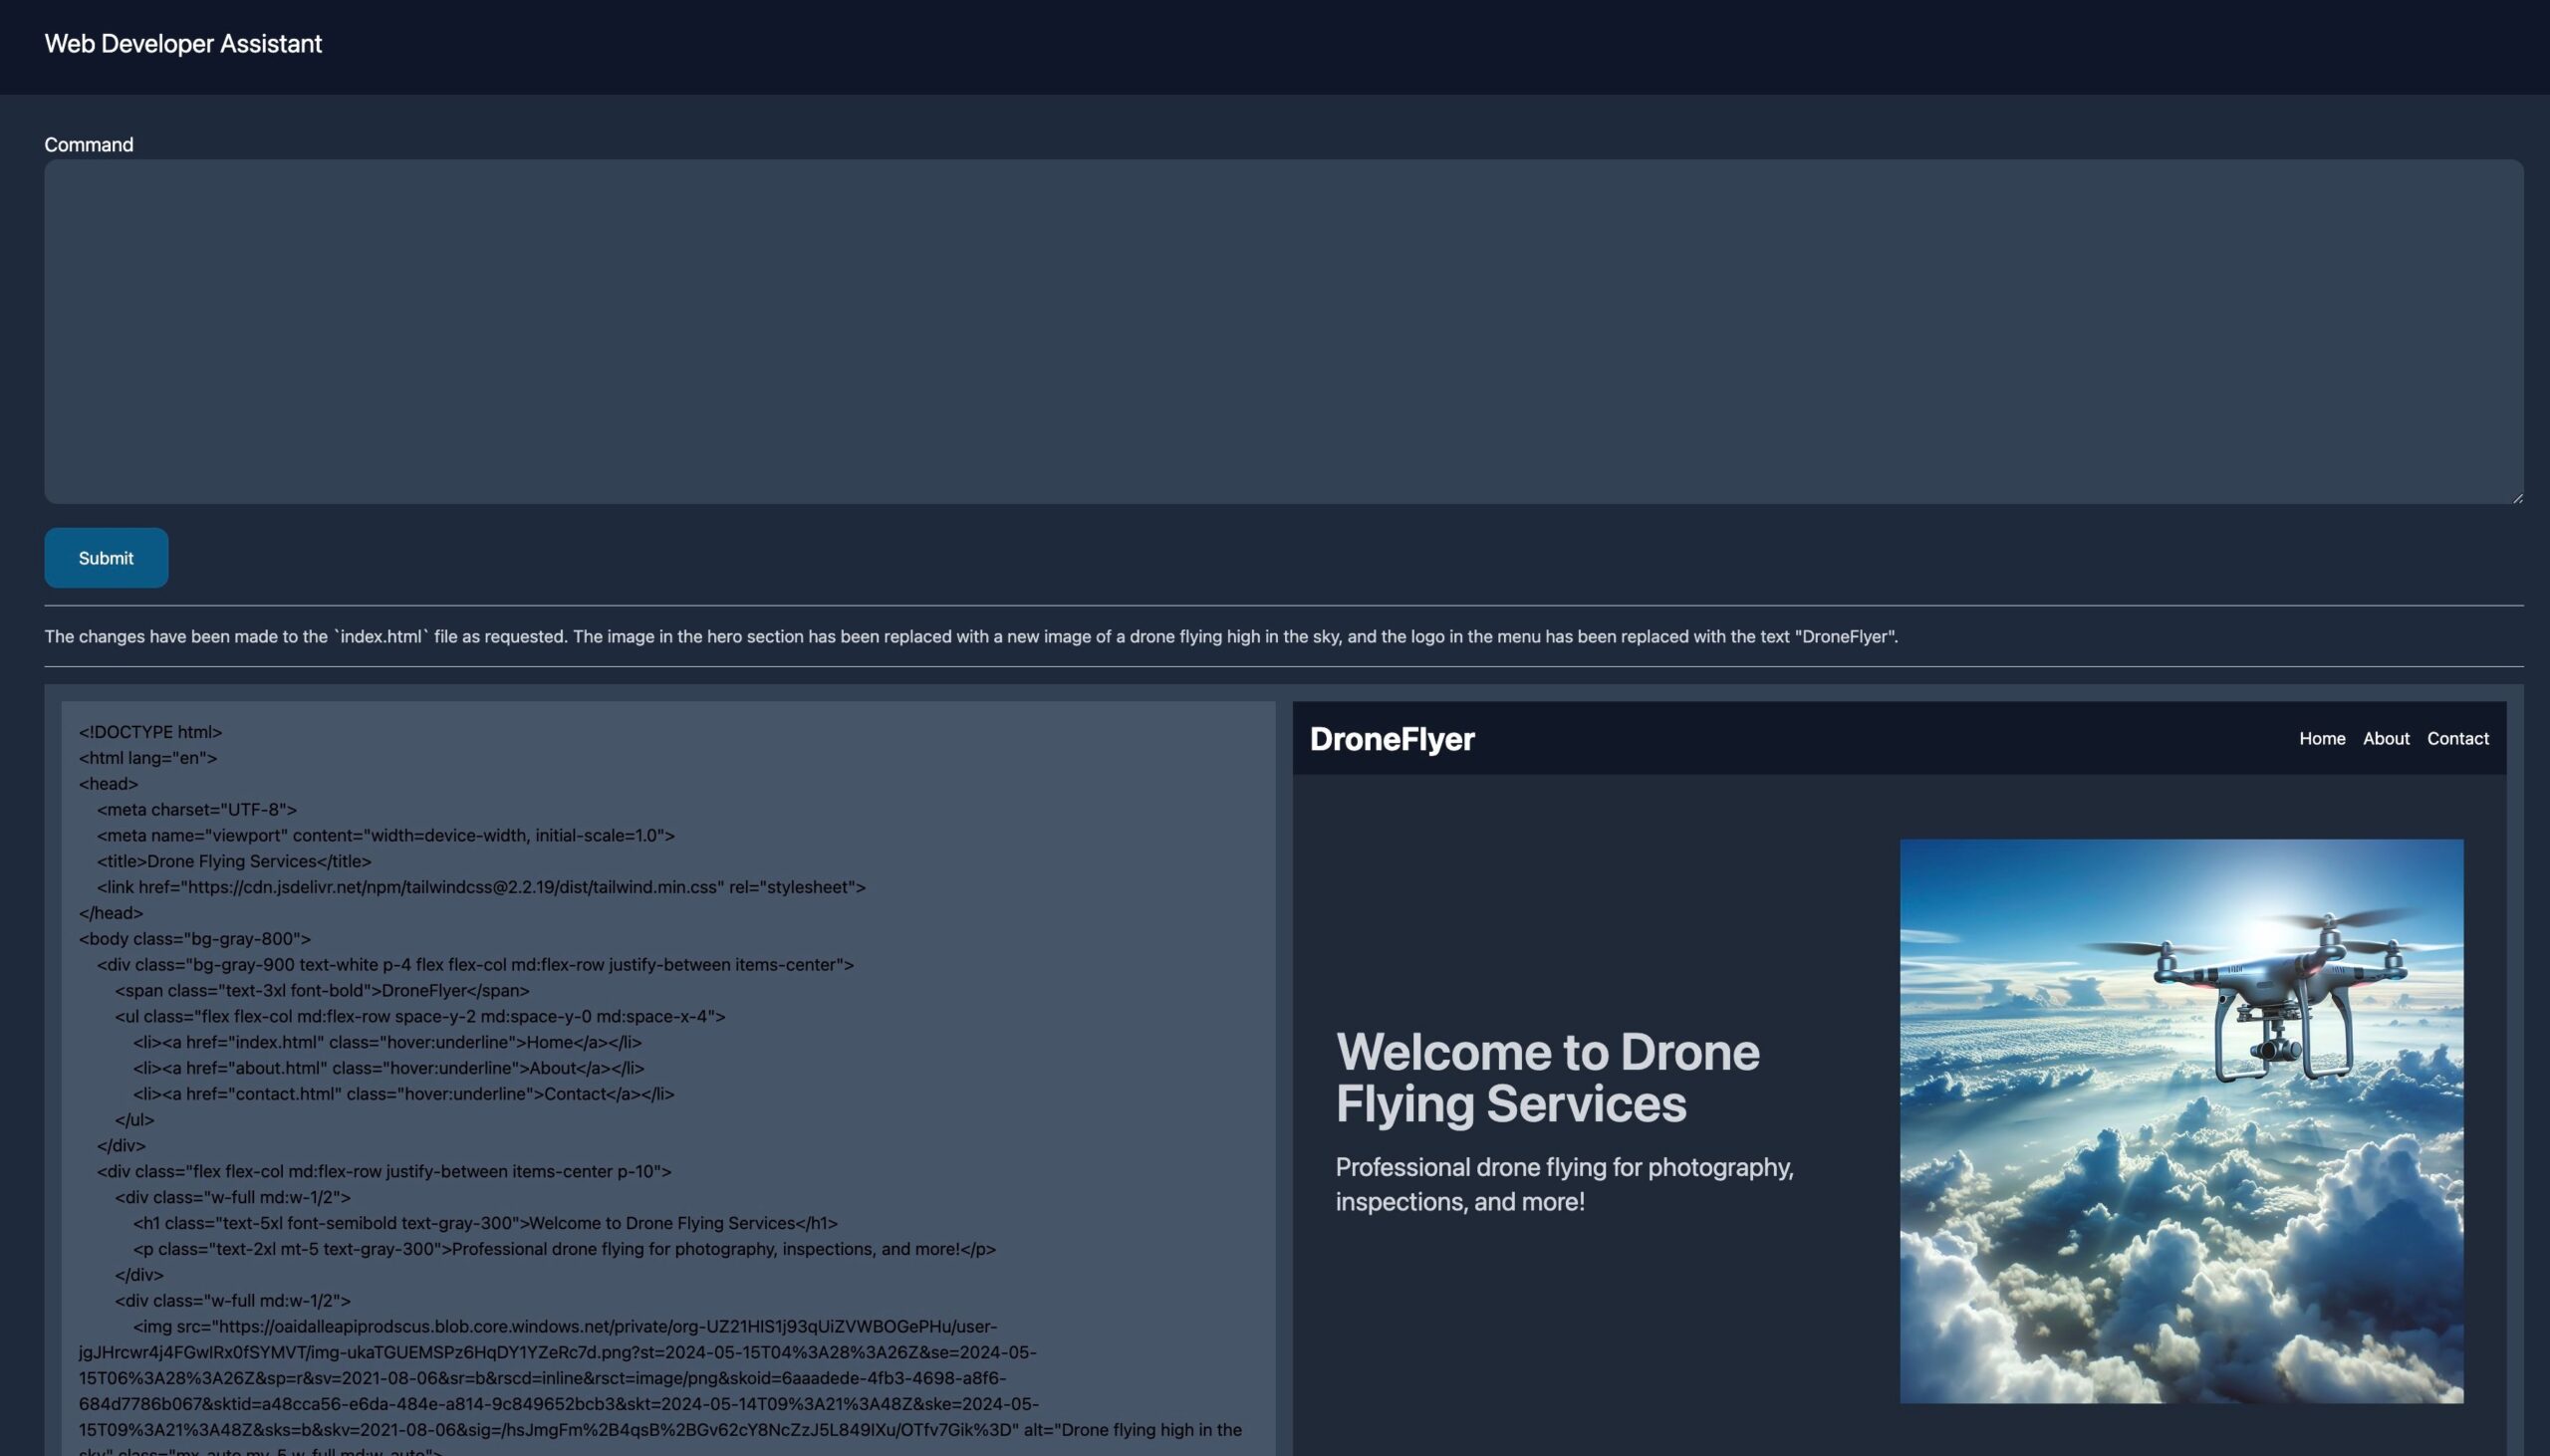
Great, let’s save this now and stop/start the Flask server and go to the browser. You can now start instructing the script to build a website for you.
Let’s try something like this:
I want to build a website for my drone flying business called "DroneFlyer". Can you create a very basic HTML page and include Tailwind CSS CDN.
When you then submit and wait for the result, you will see the generated HTML to the left, and the preview of the page to the right in the iframe.
Adding an image generator
All websites includes at least a few images. Let’s modify our script to include an image generator.
Open up "assistant.gpt", and add make the following changes.
tools: sys.read, sys.write, sys.download, image-illustrator # 1. Changed
description: A coding assistant for building websites.
args: command: The command a user gives to build and modify a website.

You are a professional web developer and designer. You are going to be an assistent to the user.
When you're given a command, open up `index.html`, analyze it, and modify it.
When you're asked to generate an image, insert the url directly in the code instead of downloading it. # 2. New

---
name: image-illustrator
tools: github.com/gptscript-ai/image-generation
description: Based on a command, this generates an image
args: command: The command to base the image on.

You are a graphic designer. Come up with a prompt for generating an image based on the command. Only return the URL of the image.
Let’s go through all of the changes.
- First, we include a new tool in the list here. The tool os called "image-illustrator" and this is a tool we’re building at the bottom.
- Give the script some more commands.
At the bottom, we added 7 new lines. This is a custom tool we now have built for this project.
A tool is defined by added three dashes, and setting a name. This name needs to be included in the list of tools at the top.
We also specify which tools this tool needs to run. This is a remote tool based on DALL-E.
Next, we accept the command here as well so that we know what the user wants to generate.
At the end, we just instruct the tool to be a graphic designer and to come up with a prompt for generating an image for the user.
Let’s test this. Open up the website, and instruct the script to do something like this:
At the bottom of the page, generate and show an image of a drone flying in the woods.
Wait a little while, and you will see what the script is capable of.
Summary
You should now have an awesome little coding assitant that you can actually use to be more productive. You can instruct it to make the website mobile friendly, add new sections, add a menu, etc.
You can probably also make it include other awesome things like javascript and other advanced things.